- Details
OpenBSD
Here, I describe some of my first experiences in really using OpenBSD after quite some years of administering FreeBSD servers for non-profit organisations and others. Credit goes to the books by Michael Warren Lucas that convinced me to try it out and are also a fantastic reference for BSD derivates in general including FreeBSD, PF, the file system ZFS, SSH and more. The first version of OpenBSD that I have "seriously" installed is OpenBSD 6.7, so things may seem simpler than in earlier versions. My first impression has been that OpenBSD is incredibly simple to install, both on old laptops and on cloud servers. Anything written here will be necessarily incomplete and should always be cross-checked with other sources before using.
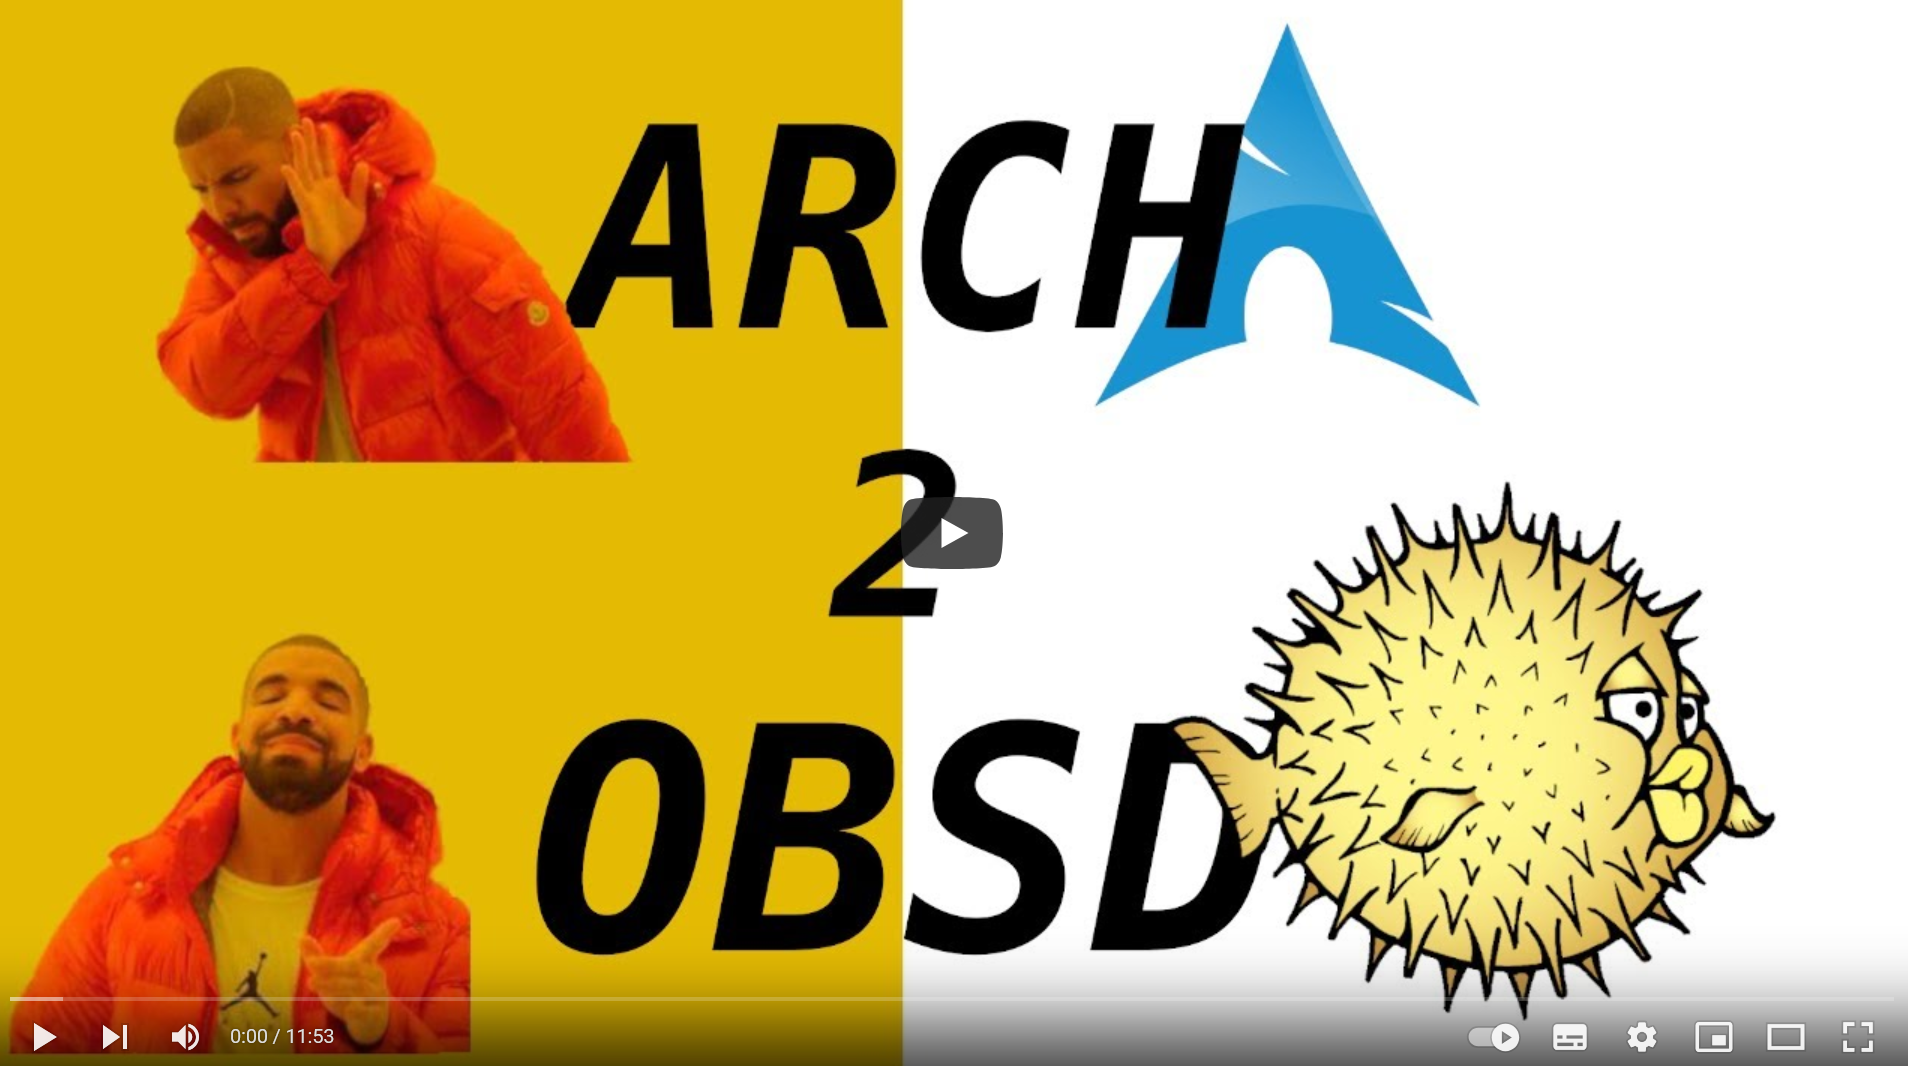
Here is a YouTube video by paranoid.life on why you should use OpenBSD.
Using OpenBSD on a Laptop
I downloaded OpenBSD from its official site. I used Rufus to create a bootable USB stick with Install67.fs making sure that enough disk space is available. There are, of course, alternatives to Rufus, so you may want to check these. If you already have OpenBSD or another BSD system, you may want to use the "dd" command.
I used the USB stick on two older Lenovo laptops: X61s and X201. This is the procedure when OpenBSD is to be installed on the laptop as the only operating system. All previously existing data will be lost, so a backup is needed if any data is to be preserved. This is what needs to be followed (worked for me):
- insert the bootable USB stick on a free USB slot.
- switch on the laptop and press F12 while the laptop is booting.
- choose the USB drive as the drive to continue booting
- follow the OpenBSD installation guide carefully (more on the details below)
- when asked to reboot, remove the USB stick first.
- after rebooting, you should have a running OpenBSD system on the laptop. I did on both X61s and X201.
Details on the installation (Lenovo T61s)
Note: I updated the BIOS to support SSD, so I cannot guarantee that this works on all T61s.
- Insert the bootable USB flash drive on the left unused USB 2.0 slot (I use the USB on the right side for a mouse)
- Boot with F12 and then select USB HDD / Generic Flash Disk (USB2.0)
After a while, there are four options to continue the installation program: (I)install, (U)prgade, (A)utoinstall of (S)hell
- Type I and return
- For keyboard check what you need (in my case "de" for German), type "de" and return or check other options first with "?"
- Enter host name, in this case the name of my town and return - in my case I ended up with the domain name town.fritz.box because I use the Fritz Box as a router and DHCP to get the IP address and gateway
- Next comes which interface, for me it was the first, i.e. em0
- Next I am asked whether I want to use dhcp or type in my own address. I use dhcp to get the IP address and gateway from my Fritz Box.
- I am not using ipv6 as yet, so for the next selection I use the default "none" instead of "autoconf"
- I am asked whether to check other network interfaces and I accept the default "none"
- Next the root password needs to be entered ⇒ don't forget it!
- Next comes the question whether or not to start sshd by default - I take the default "yes", but this can be changed later. If you don't want to access the laptop from elsewhere in your home network you may want to say "no".
- Do you want to start the X window system with xenodm(1)? the default is "no", which I have kept. I used "yes" in another installation, which ended up in the X windows system being started by default, which is not what I wanted.
- You can set up a user now or skip the process: I did set up a user. When asked for allow root ssh login, I did enter "yes", but I made sure I disabled password logins very soon and switched to the pubkey approach.
- Next enter the right time zone, in my case Europe/Berlin or CET (you can check the list with ?)
- When asked for which disk to use, I chose sd0, the main disk⇒ don't choose sd1, which is the USB drive you are just booting from.
- For the options on how much of the disk to use, you could choose OpenBSD or Whole, and I chose OpenBSD this time. Whole worked on another installation, which is just taking the whole disk.
- Next I took (a) for autolayout to save myself the bother
- I then took done as there was nothing left to initialize - note that this laptop had OpenBSD before, so this may not work for clean new installation or some other old operating system. You may have no other option than to use Whole if OpenBSD is not installed.
- Next access to the sets are needed, but I was unable to use the USB drive here. I tried disk, but could not locate the sets, so I chose http.
- Next the ftp server is needed. With ?, I looked for the closest one and used ftp.hostserver.de
- You are asked to chose what to install. For most computers, disk space should not be an issue, so I took the default of all and accepted "done" and enter
- Then everthing gets downloaded and installed ⇒ patience
- When again asked for sets, just accept "done" and return
- Wait for some configuration and maintenance to be completed
- When asked what to do next: (S)hell, (H)alt or (R)eboot just take the default reboot but remove the USB drive first! Dont worry about the complaint that sd1 has been detached - you just did it.
- When rebooting, a whole lot of other stuff get done and you should get to the login. Now it would be good to remember your login password as root.
Getting OpenBSD up to speed
Next we need to do some other basic stuff and here is what I did:
- Before adding new users I added three other shells people may want to use: tcsh, bash and ssh. I know this is not the minimalist approach some OpenBSD folks use by limiting what is added to only what is needed. I am making an exception here.
- When a new user is added for the first time, we need to set some defaults, and mine is tcsh for the shell, default for the login class, and /home as the default home position: don't enter the first subdirectory here thinking you are already adding the details for the first user! For copy dotfiles from I kept the default /etc/skel. other defaults I kept were "send welcome message" to "no", "prompt for password" by default as "y" and encryption method as "auto" (not blowfish). Now it is time for the first real new user.
- Add as many users as needed here. For those who need sudo (or doas) add the group wheel in the process. Note that sudo is not included as a default. doas is more than enough for most uses, so add sudo only if you have a good reason for it. I added it on another installation and found it added nothing that I could not do with doas.
- Beginning with doas only, copy the examples file from /etc/examples/doas.conf to /etc/doas.conf which gives full permissions to all members of the "wheel" group. doas is the sudo substitute for OpenBSD. The configuration of OpenBSD substitutes and alternative has so far always been a lot easier to configure. Here is something written by a doas fan about its advantages compared to sudo and who for whatever reason still sticks to Linix (I take no responsibility for his views). Here is a BSD user who wonders why anybody still uses sudo.
Here is a really good YouTube video by paranoid.life on testing and using doas configurations.
Here are some of the other stuff I added:
- vim - I used the option 10 vim-8.2.534-no_x11
(incomplete, work in progress)
- Details
Technology
This section will contain random technology issues from power generation to communications, computers and IT security. I will do my best to keep everything as correct as possible, but you follow any information I provide at your own risk. It is always good practice to double.check information in advance. Check the submenus for individual topics.
Because technology does not have any direct relationship with the Charvaka philosophy, I may move the technology content to another site. However, I will keep the links here to allow those revisiting the site to find it.


